Approx. reading time: 7 minutes
Dear SimpleFCU community,
Today we have something special ready for you! This is a great example and fabulous work from one of our customers about using SimpleFCU hardware for a bigger project.
The potential of SimpleFCU has been unlocked to a new and complex level, and we couldn’t resist taking this opportunity to share such a lovely project with our community. We’d especially like to thank Zekonian, the author of the project and the person in crime here.
He was so nice to chat with us for a bit and prepare a lot of material for our readers on his behalf. Hats off!
But firstly, have you ever been wondering if SimpleFCU can be used as a hardware for your bigger project? Couldn’t you imagine how much work would this be? Which parts need to be customized? All these answers are here, below.
We have received a few emails from people, who had previously been working on their AP project and the question was usually like: “Can I get full model data in order to customize the panel a bit?”
The answer from us is and will always be: “Sure.”
SimpleFCU has a potential to become a part of bigger home cockpit projects, and we’re thrilled if we’re chosen as a perfect fit! SimpleFCU has been created with keeping these bigger projects in mind.
If you’re about to start building, and you’re considering using our hardware, don’t hesitate to let us know what stops you from doing so. We’ll try to help you as much as we’re able to.
We want our customers to be happy, period.
Let’s move to Zekonian´s beautiful project now!
Hey Zekonian, I’ve been looking forward to our discussion about your awesome project. As you’ve sent me a few photos before, I couldn’t wait to see the outcome. The project looks stunning, can you share with our community why you’ve chosen SimpleFCU as the main hardware to go?
“After using different off the shelf solutions, I was still not happy with those panels. With one panel, the LEDs were not communicating with the sim and were not so straightforward to configure. On the other panel, there was a lot of extra switching to do and therefore no direct control of heading; speed and altitude etc. Therefore, the search for a better solution continued.”
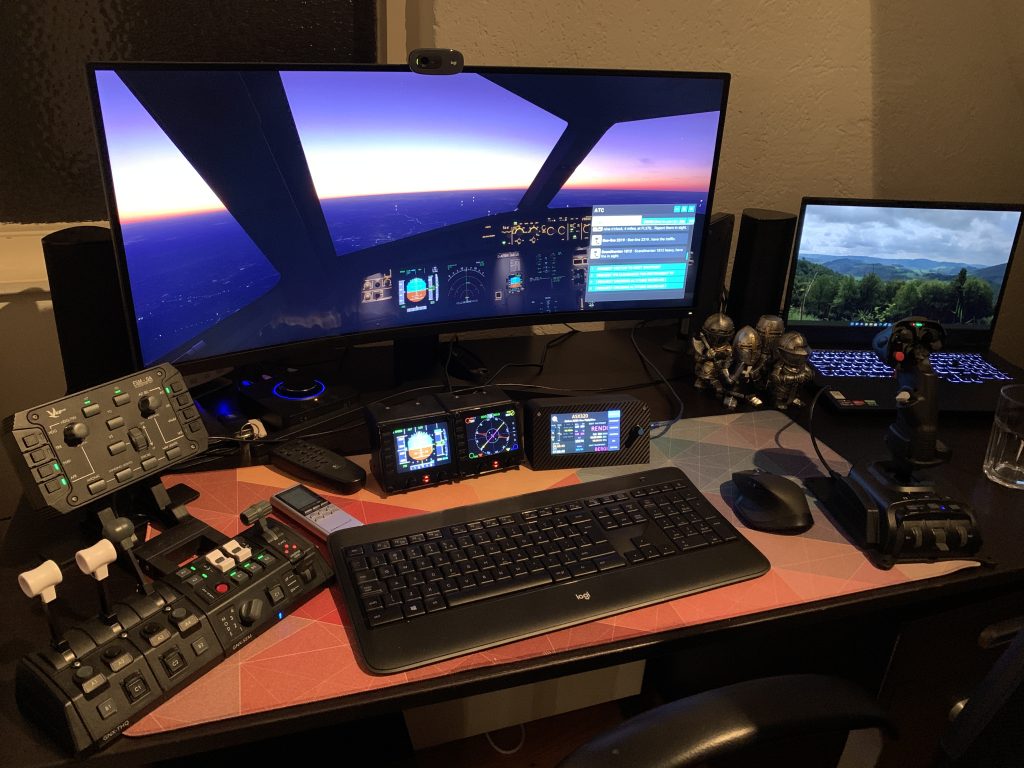 The initial build
“After some searching around, I could only find very expensive FCU’s, but one time I just stumbled on this project of SimpleFCU. I already had a resin 3D printer and for the advertised price I just could not let this pass.
Because of the use of a resin printer, I knew that I had some challenge to do because the printer has a small print volume. At that point, I also decided to replace all the other panels and make a new enclosure.”
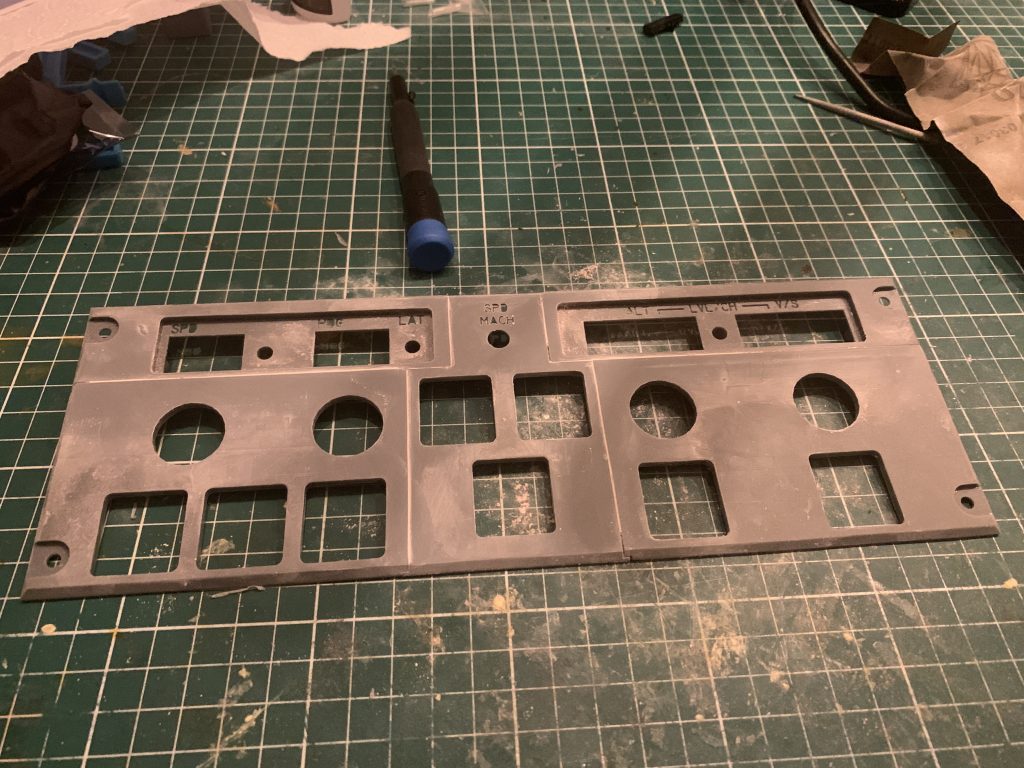
“The best way to start this kind of project is to start in 3D and plan from there. To test if my plans are possibly done by using a resin printer to construct bigger constructions and add back lit text, I decided to first make the COM and NAV radios.”
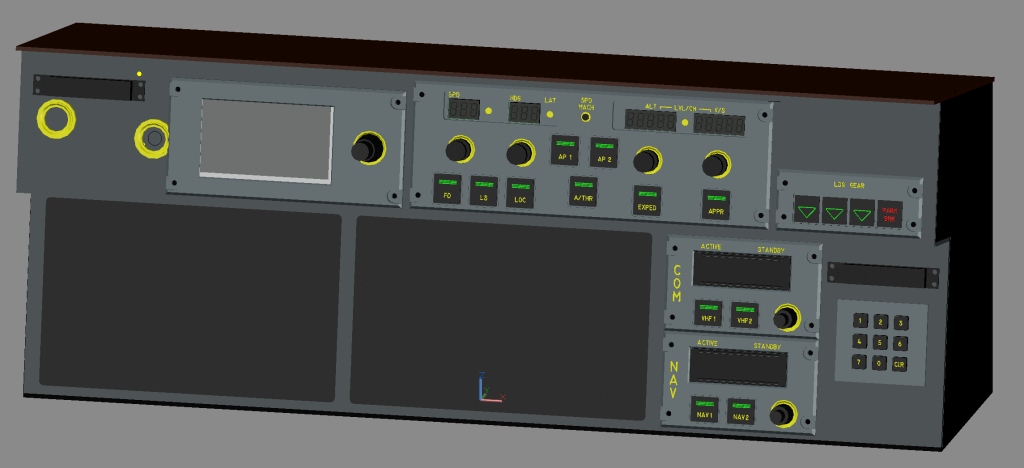
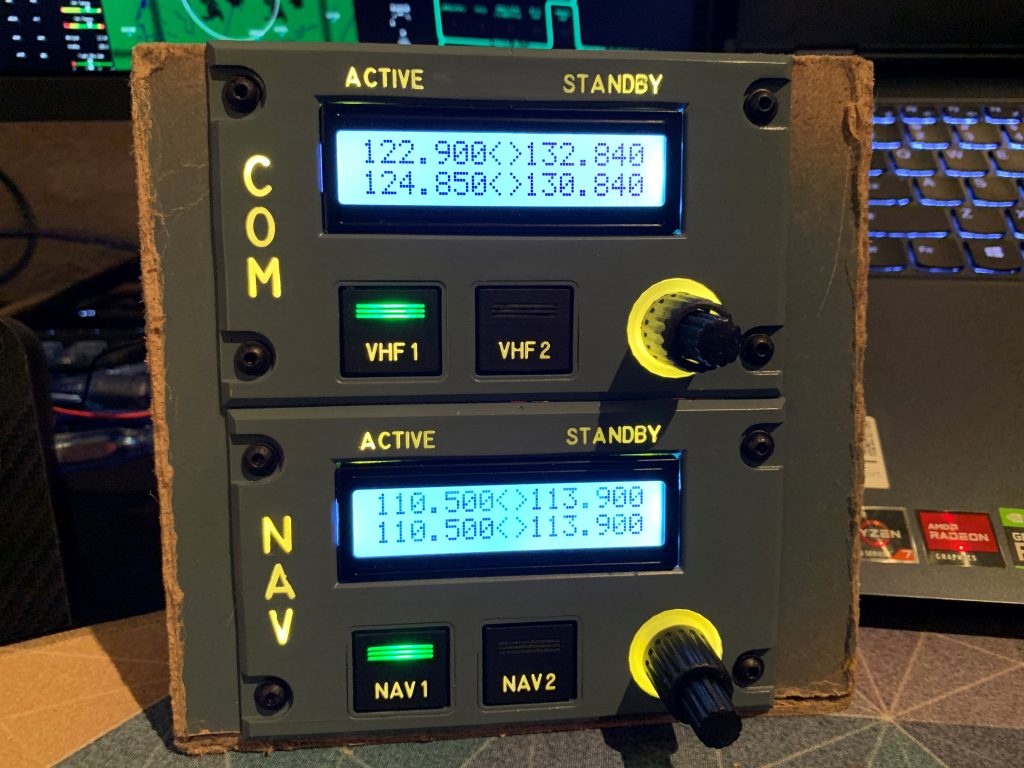
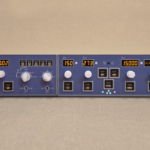
“After looking at the pictures which were posted on the blogs of SimpleFCU, I noticed some things to improve on. The PCB is placed 3 mm to the back to accommodate the smoked glass.”
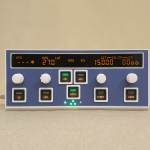
We absolutely love this part. We’ve been discussing this while creating the SimpleFCU Creative edition but we have decided the glass part would be pretty complicated to install for everyone. As we wanted to have the installation as easy as it can possibly get, we’ve chosen a way to go with the anti-reflexion black foil that can be found in the package.
Looks like you’ve made some improvements for the Korrys as well…
“The ridge of the Korry switch has moved to the back. In this way the switch can be mounted to the back of the panel and therefore you don’t have a ridge anymore on the front. Also I did not use the stickers and replaced those with resin print with the cutouts for the text and the indicator. The text and indicators are printed in clear resin. Only the text ones are painted white. “
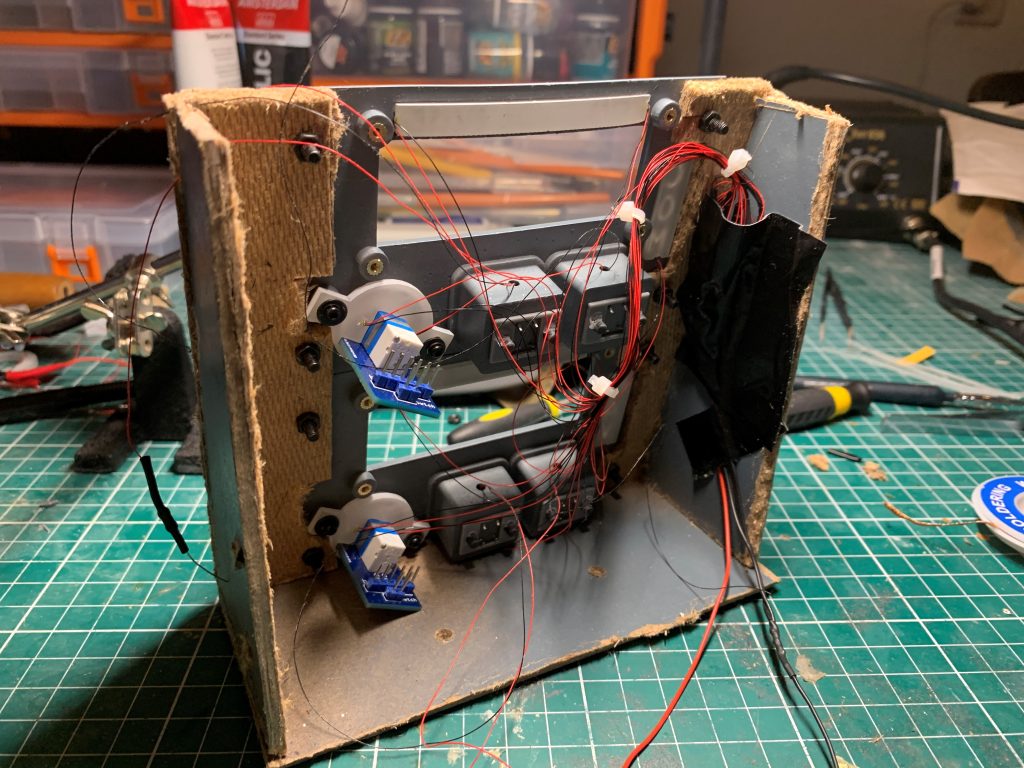
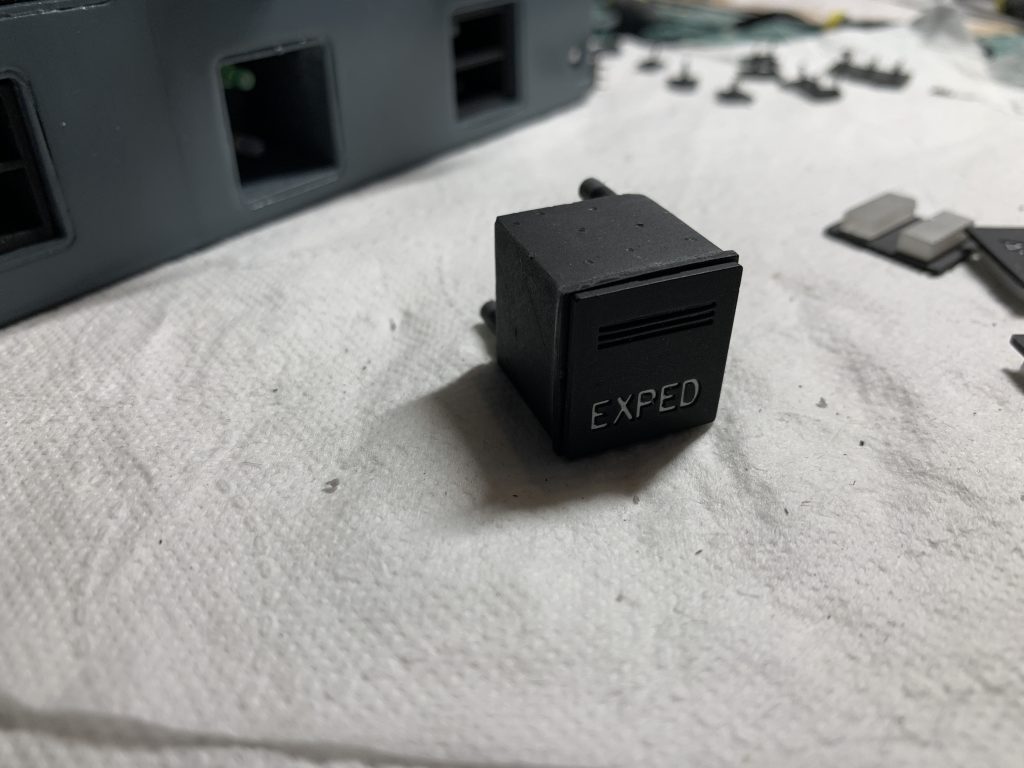
The reworked Korrys look perfect for your application. We’ve also noticed the push-pull modules have a backlight. Can you tell us more about this modification?
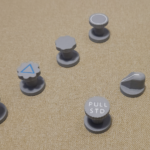
“To get the rotary dials visible in the dark, I modified the push-pull modules. The mounting part was sliced off and replaced with a clear resin part. Also, these parts were painted white. I spent a lot of time sanding the internal parts to let them slide smoothly and also added some grease.”
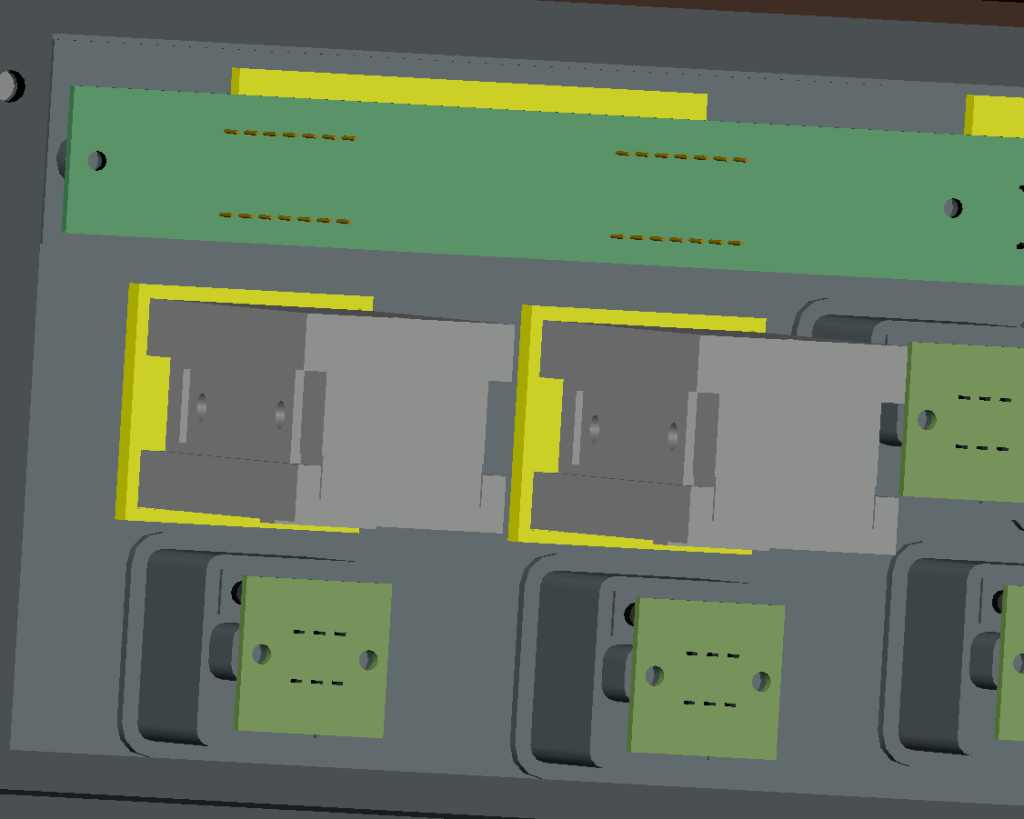
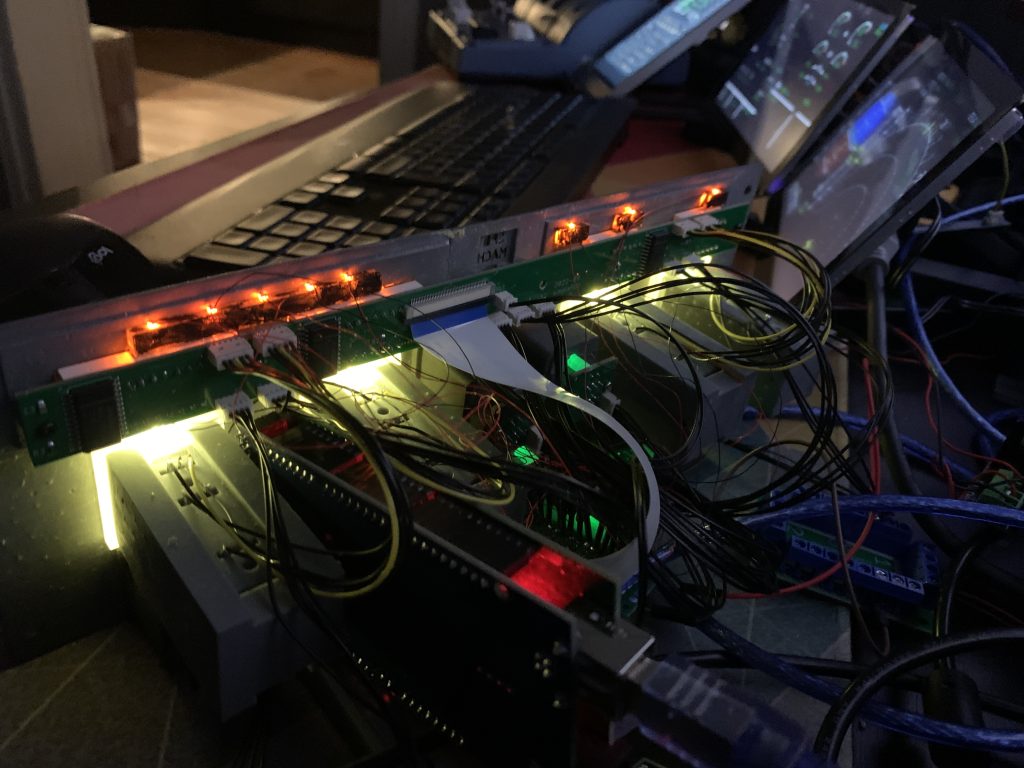
“There was only a small issue left to flatten the FCU. I decided to modify the landing lights, park brake light and Flight director light. I put them in their own enclosure. The flight director has changed to a Korry switch and has to be connected to the Arduino for the COM/NAV radios.
The existing LEDs were desoldered from the PCB, but unfortunately they were soldered very well and didn’t make it. As I couldn’t use them again, I soldered wires to these LEDs and used new ones.”
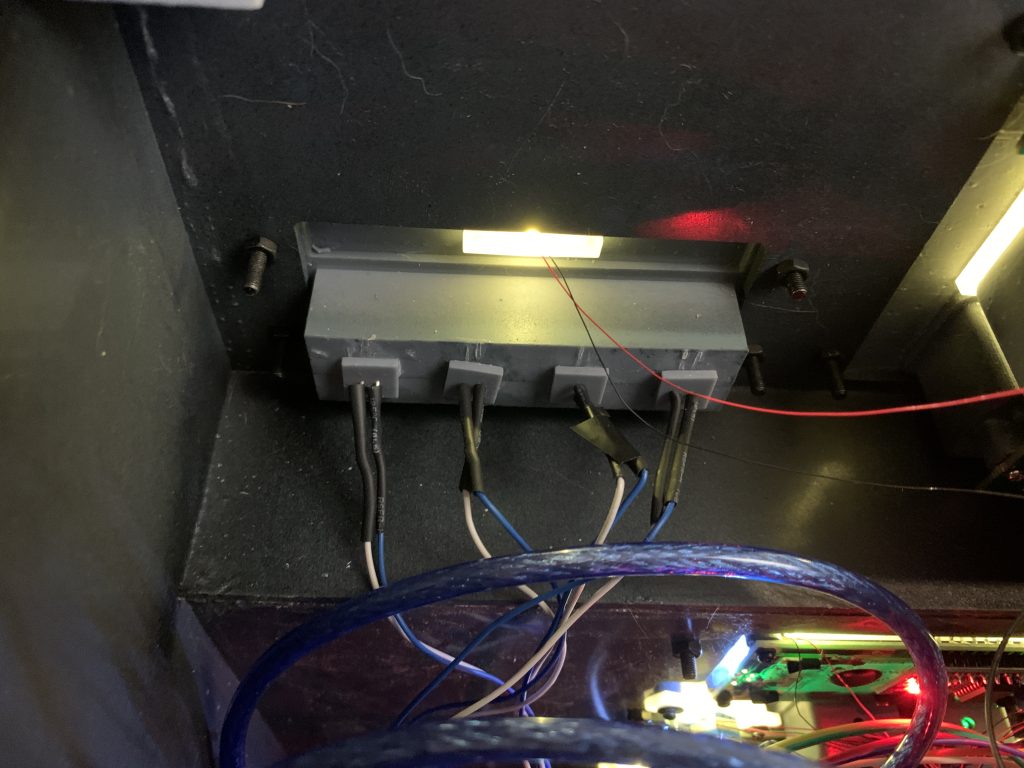
“After this all was done, it was time to assemble everything together and add the LEDs for the backlight. The LEDs which were all pre-wired SMD type 0805 are driven with their own dedicated 12V power source with a dimmer. Because all LEDs have their own resistors, it was very handy to use prototyping boards to mount everything.”
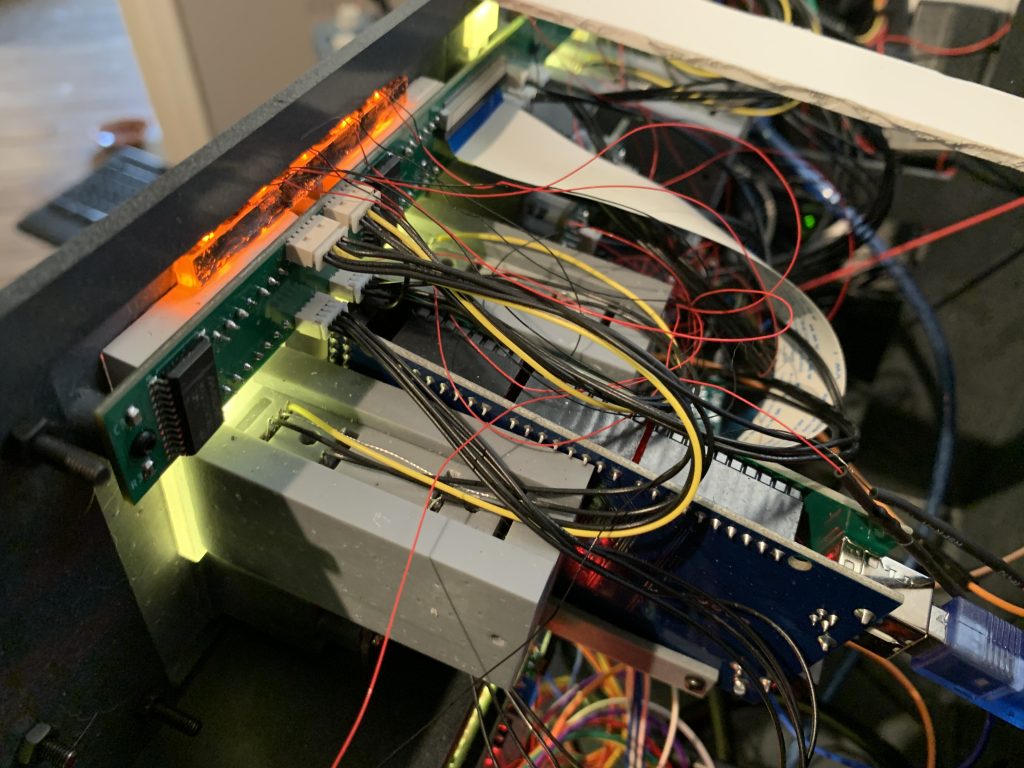
“Because The enclosure is modeled in 3D, it was a lot easier to export to DXF which a local company accepts to cut panels to exact size.”
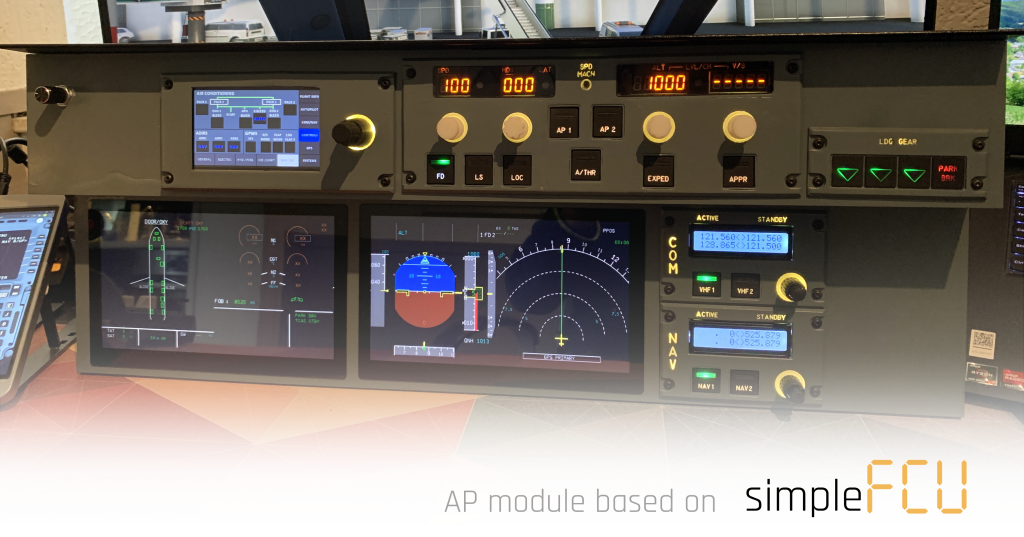
This looks awesome. I can see how much effort you’ve put into this project. The outcome is fascinating! Looks like there’s still some free space for more panels…
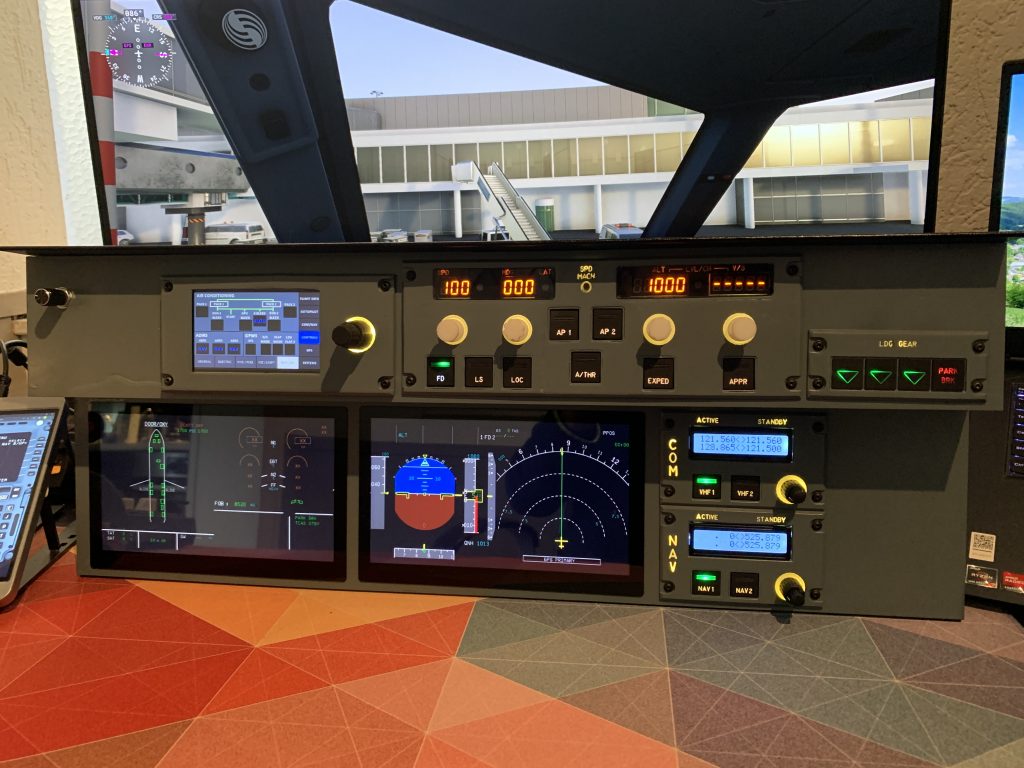
“Yes, as visible in the picture above, there are some empty spots left for new panels to be added in the near future.”
Wonderful outcome, we can tell! Thank you very much for sharing your project and we wish you happy landings, Zekonian!
Are you still wondering if you’d be up for a challenge like this? Or maybe you’d like to start with something easier first? The regular SimpleFCU panel, which is already made and only needs to be printed and assembled? 😏
You can find more photos of our customers builds on our Discord, feel free to join today!
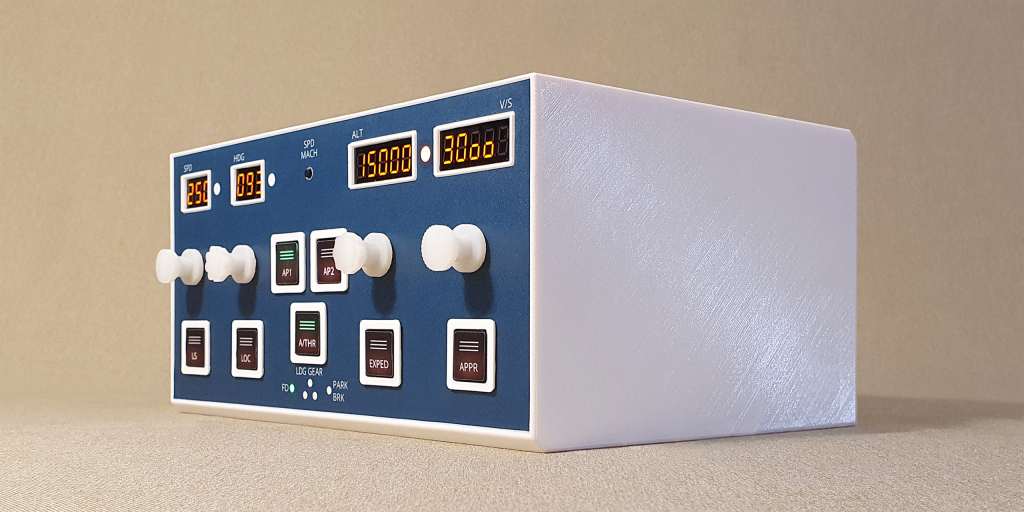
We are currently accepting regular orders and shipping the next day after the checkout. Don’t hesitate with the order, as the ready-to-be-shipped number of packages is limited.
Taxi to our shop via this link -> https://simplefcu.com/product/simplefcu-creative-edition/
Have a lovely upcoming weekend, safe travels & happy landings
For the whole SimpleFCU team
Mike
